 Pin It
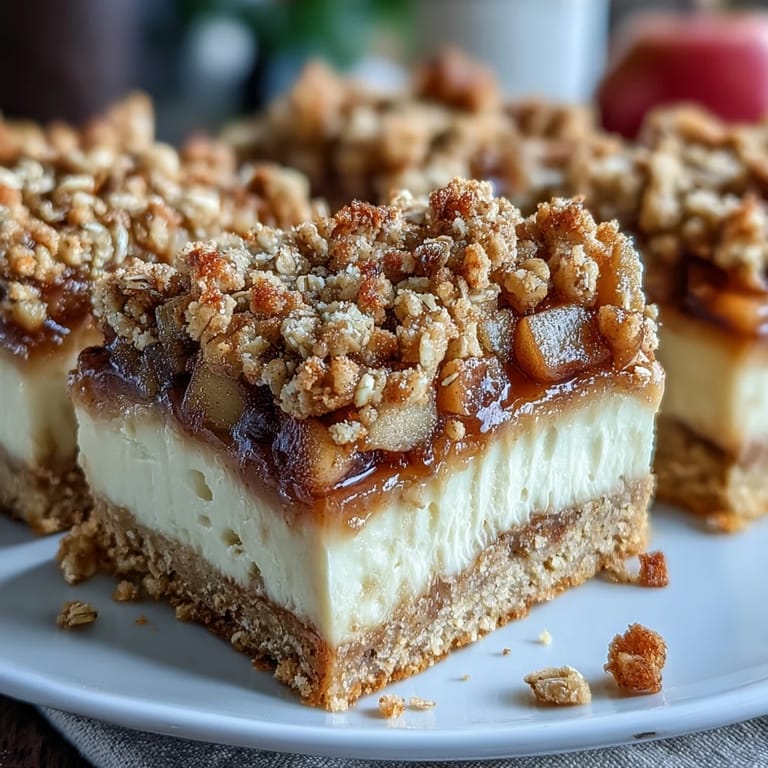
 The scent of brown butter was the first thing that caught me off guard one crisp October evening as I tried something new in my tiny kitchen: layering apples and cheesecake onto a buttery crust. I didn’t intend to create something memorable, but by the time the bars emerged golden and fragrant, I knew I was onto a dessert worth sharing. The rich nuttiness from the crust filled the room and almost distracted me from licking the spoon after swirling together the cream cheese. It wasn’t fancy, but the sheer comfort these bars brought made them feel like a cozy autumn celebration in every bite. Ever since, this recipe has become my unofficial excuse for buying extra apples at the market.
One evening last fall, a friend showed up unexpectedly with a steaming mug of chai and a bunch of Granny Smith apples just as I pulled these bars from the oven. The laughter mixed in with buttery aromas, and our haphazard attempts at neat slices quickly turned into a pleasant mess of crumbs and shared stories. Even the dog circled our feet, hoping for a fallen oat cluster. Making these for people feels less like baking and more like inviting them into a moment of togetherness. No one ever complains about a second helping.
Ingredients
- Unsalted butter: Browning the butter transforms the crust, adding a deep, nutty backbone—just watch closely so it doesn't turn from golden to burnt.
- All-purpose flour: This is the glue for both the crust and topping; I always fluff it up a bit before measuring so the bars stay tender.
- Granulated sugar: Adds sweetness and helps with that gentle crunch in the crust—don’t be tempted to reduce it too much or the bars will taste bland.
- Salt: A pinch sharpens all the flavors, and you’ll miss it if it’s left out.
- Cream cheese: Softening it properly means no lumps in your cheesecake layer—leave it out on the counter while you prep the crust.
- Egg: Just one gives structure without overwhelming richness; crack it into a separate bowl in case of shell mishaps.
- Vanilla extract: Rounds out all the dairy and apple notes with a hint of warmth.
- Apples: I always use a mix of tart and sweet—think Granny Smith and Honeycrisp—for a flavor that pops and a texture that doesn’t disappear after baking.
- Brown sugar: Lends caramel notes to both the filling and the crispy topping; light or dark works, just use what’s on hand.
- Cinnamon: The unsung hero in apple desserts; don’t be shy if you’re a cinnamon lover.
- Nutmeg: Adds depth—freshly grated is exceptional, but pre-ground will do in a pinch.
- Lemon juice: Prevents the apples from browning and offers brightness so the whole bar doesn’t feel too sweet.
- Old-fashioned oats: For that irresistible crisp top; quick oats go a bit mushy, so skip them if you can.
Tired of Takeout? 🥡
Get 10 meals you can make faster than delivery arrives. Seriously.
One email. No spam. Unsubscribe anytime.
Instructions
- Ready the Pan:
- Line an 8x8-inch baking pan with parchment so you can lift the bars out easily, corners creased and edges overhanging.
- Brown the Butter for the Crust:
- Swirl butter in a saucepan over medium heat—keep stirring as it pops, sizzles, and turns golden-brown, smelling nutty and almost caramel-like.
- Prep and Bake the Crust:
- Mix flour, sugar, and salt in a bowl, then pour in the brown butter; press the mixture into the pan and pat it flat before baking for 12 minutes, right until the edges look set.
- Blend the Cheesecake Layer:
- Beat the cream cheese and sugar smooth, then add the egg and vanilla—mix gently so it stays creamy, not airy.
- Make Spiced Apple Filling:
- Toss the diced apples with brown sugar, cinnamon, nutmeg, and lemon juice until every piece glistens and smells like autumn.
- Create the Crisp Topping:
- Rub cold butter into oats, flour, brown sugar, and salt with your fingertips until the texture looks like chunky sand (a little mess is expected).
- Assemble and Bake:
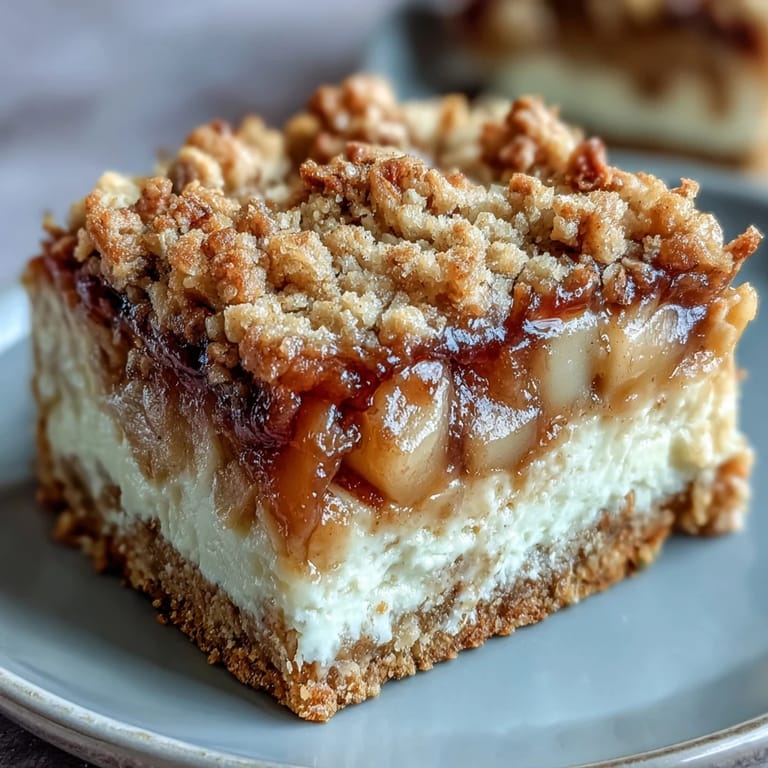
- Spread the cheesecake layer over the warm crust, scatter the apples in an even layer, then shower the oat topping all over before baking until the top is deeply golden and set.
- Cool and Chill:
- Let everything cool on the counter, then chill in the fridge at least two hours so the layers hold together when sliced.
 Pin It
 The first time I brought these bars to an autumn potluck, I watched plates come back clean, crumbs and all, from a table of people who barely knew each other twenty minutes before. It’s funny how a good dessert can break the ice faster than small talk ever could.
Level Up Your Crisp Topping
Sometimes I toss a handful of chopped pecans or walnuts into the oat mixture for more crunch and a hint of earthiness. Toasting the oats lightly before mixing is another sneaky upgrade that brings out even more flavor. If you want a lighter bar, you can dial back the topping or sprinkle just a thin layer—the bars are still delicious, just a little less decadent.
Best Apples for Baking
I experimented with everything from Fuji to Pink Lady and always found a blend works best for depth and texture. Granny Smiths keep their shape with a citrusy zing, while a sweeter apple like Gala or Honeycrisp adds juiciness. Avoid Red Delicious—they go mushy and bland in the oven.
Serving and Storage Secrets
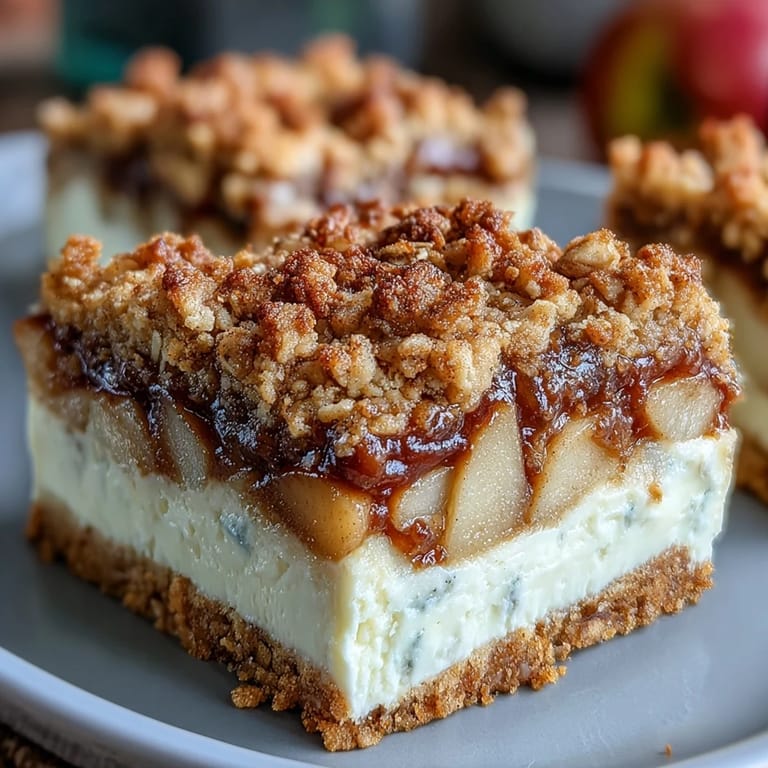
A chilled bar is firm and holds its shape for parties, but I secretly love sneaking one at room temperature when the cheesecake gets extra creamy and the oat topping stays crisp. Bars store well in the fridge for up to four days, and the flavors only deepen over time. They’re honestly irresistible with a little drizzle of caramel sauce if you want to dress them up.
- Let them sit at room temp for 10 minutes before cutting for neatest slices.
- Store in an airtight container with a sheet of parchment between bars to keep the topping crisp.
- If you have a toaster oven, reheat a square for that freshly baked feel.
 Pin It
 I hope these apple crisp cheesecake bars bring laughter into your kitchen and disappear quickly from your dessert plate. Don’t be surprised if you start baking them for reasons as simple as wanting your kitchen to smell like a fall festival.
Recipe FAQs
- → How do I achieve the brown butter for the crust?
Melt unsalted butter over medium heat, stirring constantly until it foams and turns a golden brown with nutty aroma, then remove from heat immediately to prevent burning.
- → What types of apples work best for the filling?
A mix of sweet and tart apples, such as Fuji and Granny Smith, creates a balanced flavor with natural sweetness and bright acidity.
- → Can the bars be stored after baking?
Yes, chill the bars for at least two hours after baking. They can be refrigerated for up to five days, maintaining texture and flavor.
- → Is it necessary to chill the bars before slicing?
Chilling allows the layers to set properly, making slicing cleaner and preserving the creamy texture.
- → How can I add extra flavor to these bars?
Drizzling caramel sauce on top or mixing in toasted nuts with the oat topping enhances richness and adds texture contrast.
- → What equipment is recommended for preparation?
A saucepan for browning butter, mixing bowls, an electric mixer or whisk, an 8x8 inch baking pan, parchment paper, and a pastry blender or fork for topping.