 Pin It
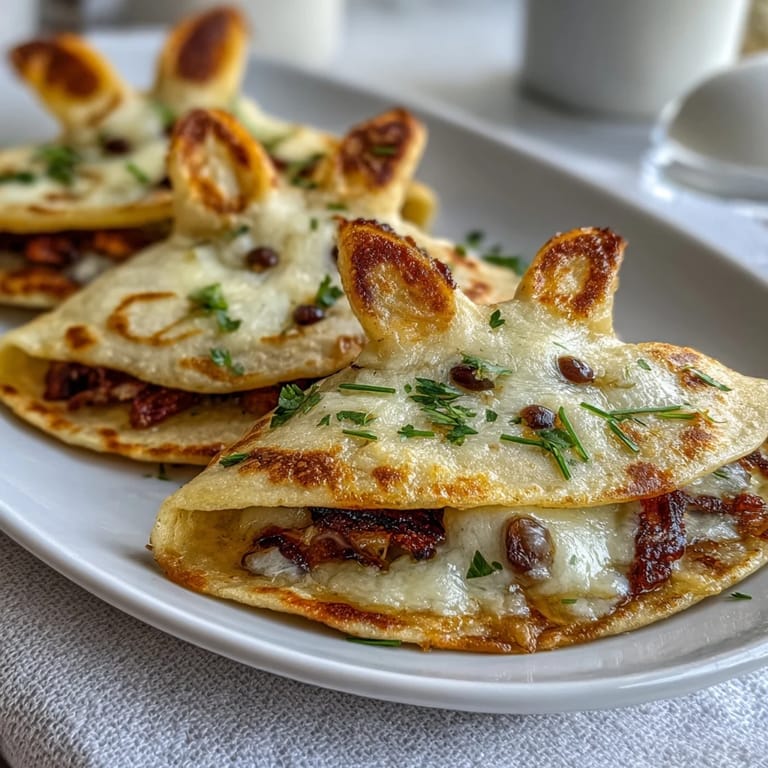
 My daughter came home from preschool asking if we could make something that looked like a bunny for Easter lunch, and I found myself standing in the kitchen with a cookie cutter, melted cheese, and absolutely no plan. What started as a quick idea turned into this magical moment where she watched these little tortilla bunnies transform in the oven, their edges turning golden while the cheese bubbled underneath. It became one of those meals that tasted as good as it looked, and honestly, watching her face light up when I decorated them with olive eyes made me understand why people get excited about food shaped like animals.
I made a triple batch for a spring playdate once, and the kids spent more time examining each quesadilla's face before eating it than they did actually eating. One little boy insisted his bunny needed a name, and suddenly every quesadilla on the table had a personality. That's when I realized these weren't just snacks anymore—they were tiny edible characters that made lunchtime feel like an adventure.
Ingredients
- Large flour tortillas: Six of these become your canvas, and honestly, thinner ones work better because they crisp up faster and hold their shape when you cut them.
- Shredded cheddar cheese: This is your flavor backbone—it melts beautifully and has that mild sharpness kids and adults both enjoy.
- Shredded mozzarella cheese: The mozzarella stretches and creates those satisfying cheese pulls, so don't skip it just because you have cheddar.
- Diced bell peppers: Choose bright colors if you can because they disappear into the filling and surprise you with sweetness and crunch.
- Sweet corn kernels: Fresh or frozen works equally well—frozen actually releases moisture that helps distribute the cheese.
- Unsalted butter, melted: This is what gives you that golden, crispy exterior that shatters slightly when your teeth hit it.
- Black olive slices: These become the eyes and honestly set the whole personality of each bunny.
- Baby carrots: A slice of carrot becomes the nose and adds a pop of orange that makes the face complete.
- Fresh parsley or cilantro: The sprigs become whiskers and add a touch of green that feels intentional and whimsical.
Tired of Takeout? 🥡
Get 10 meals you can make faster than delivery arrives. Seriously.
One email. No spam. Unsubscribe anytime.
Instructions
- Set your oven and prep your space:
- Preheat to 375°F and line your baking sheet with parchment paper so cleanup becomes almost non-existent later. This temperature is specific because it's hot enough to melt cheese quickly without burning the tortillas.
- Cut your bunny shapes:
- Use a bunny-shaped cookie cutter or make a simple template from cardboard and trace around it with a sharp knife—you're aiming for about 12 bunny shapes total, which gives you 2 per quesadilla. The cutting part is where kids shine, so hand them a butter knife if they're old enough to help safely.
- Layer your first bunnies:
- Place six bunny tortillas on the prepared baking sheet, then sprinkle the cheddar, mozzarella, bell peppers, and corn evenly across each one. Don't overload them or the cheese will escape the sides.
- Sandwich them together:
- Top each filled bunny with a second bunny tortilla, creating little sandwiches, then brush the tops gently with melted butter using a pastry brush or the back of a spoon. The butter is what creates that crispy, golden exterior you're chasing.
- Bake until bubbly and golden:
- Pop them in the oven for 8 to 10 minutes—you're looking for the cheese to melt completely and the tortilla edges to turn a light golden brown. The kitchen will smell incredible once the cheese starts melting and the butter toasts.
- Cool slightly, then decorate:
- Let them sit for a minute or two until they're cool enough to handle, then add your olive eyes, carrot nose, and parsley whiskers. Press gently and the warmth of the quesadilla will help everything stick naturally.
- Serve and enjoy:
- Transfer to a serving plate while they're still warm and set out sour cream for dipping beside them. This is where the magic really happens because suddenly you have a plated moment that feels special.
 Pin It
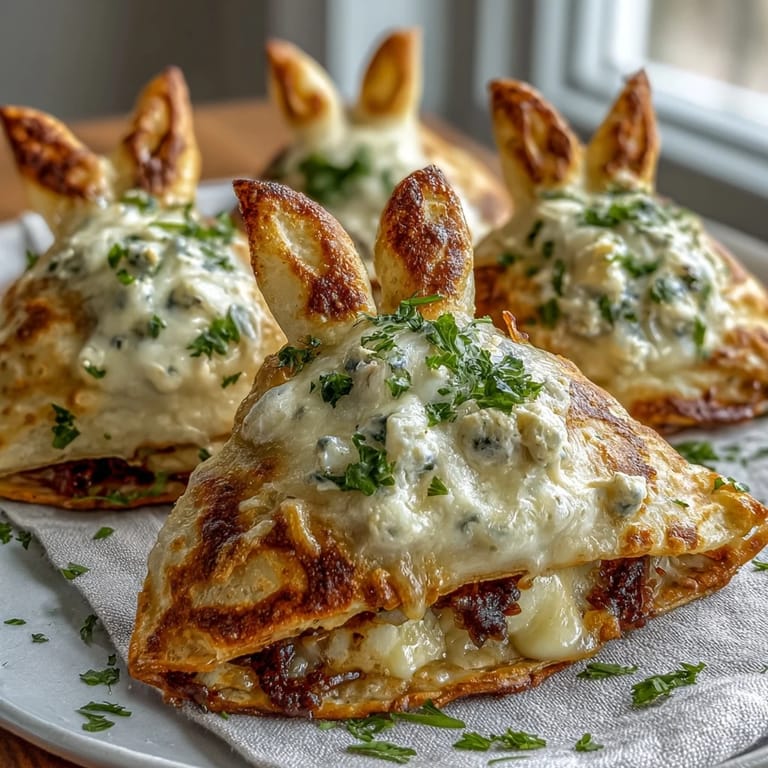
 I'll never forget when my son carefully moved his bunny quesadilla to a plate without eating it, turned to me, and said it was too pretty to destroy. Then five seconds later he changed his mind, bit into the head first, and discovered the melted cheese inside—and his face went from concerned to delighted instantly. That's the thing about these quesadillas: they're not just food, they're a tiny moment where whimsy becomes delicious.
Variations and Additions That Work
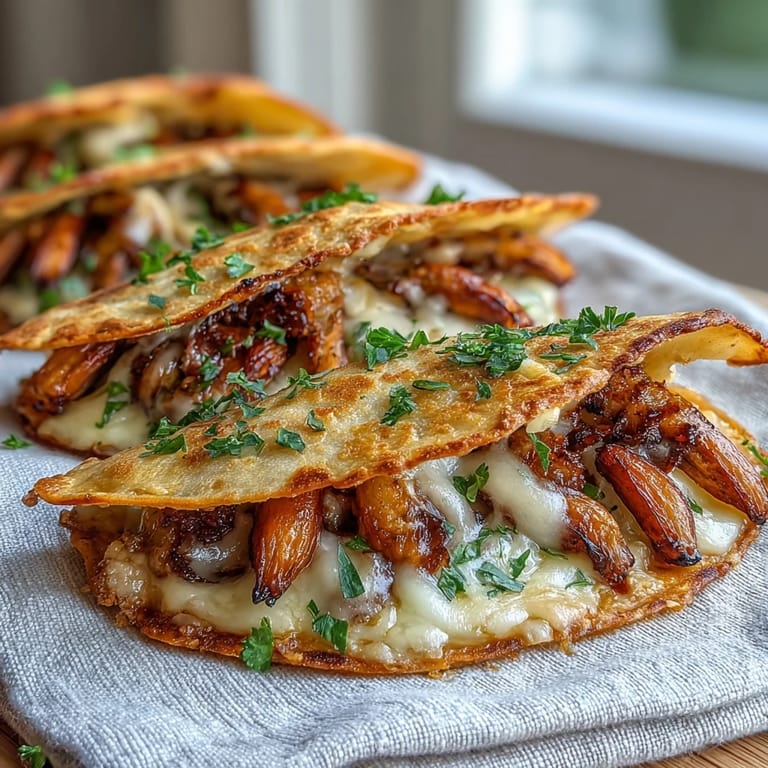
Once you understand the basic structure, you can customize the filling without worrying about whether it'll work. Cooked shredded chicken adds protein and heartiness, or black beans bring earthiness and fiber that makes it feel more substantial. I've experimented with spinach tortillas for a green base that looks intentional, and I've even added crumbled bacon when I wanted to sneak something rich into what seemed like a simple quesadilla. The beauty is that cheese is forgiving—it holds whatever you put inside together and makes it taste right.
Decorating Like You Mean It
The decoration is where these move from snack to experience, so take your time even though it only adds a few minutes. I learned to slice the baby carrots lengthwise so the nose piece has a flat side that adheres better, and I discovered that parsley sprigs with longer stems work as whiskers better than cilantro because they hold their shape. The olive slices stick naturally because of the warm cheese, but if you're working with a quesadilla that's cooled too much, a tiny dab of sour cream acts as adhesive.
Making This a Family Activity
There's something about the simplicity of this recipe that makes it perfect for cooking with kids because every step feels manageable and the results are immediately impressive. My experience is that letting kids handle the cutting (with a safe butter knife on tortillas that don't require much force) and all of the decorating makes them invested in what they're eating. The bunny shapes feel like collaboration between you and them, and that shared ownership changes how they experience the meal when it lands on their plate.
- Let younger kids help sprinkle cheese and veggies onto the tortillas because it's mess-free and they feel like they're actually cooking.
- Save the decorating for them entirely because arranging olives and carrot noses requires zero kitchen skill and feels like real artistry.
- Make it a race to see who can decorate their quesadilla fastest, which somehow makes the whole thing more fun than it has any right to be.
 Pin It
 These little bunny quesadillas taught me that food doesn't have to be complicated to be memorable, and sometimes the simplest meals are the ones that matter most. They're proof that a little creativity and a cookie cutter can turn an ordinary lunch into something your family talks about for years.
Recipe FAQs
- → How do I make the bunny shapes?
Use a bunny-shaped cookie cutter or a sharp knife with a template to cut shapes from the flour tortillas before assembling.
- → Can I add protein to these quesadillas?
Yes, shredded cooked chicken or black beans can be added to the filling for extra protein content.
- → What is the best way to get crispy quesadillas?
Brushing the tops lightly with melted butter before baking at 375°F helps achieve a golden, crispy exterior.
- → Can I substitute the cheeses used?
While cheddar and mozzarella blend well, feel free to use other melting cheeses to suit your taste.
- → What are good sides to serve with these quesadillas?
Light fruit salads or veggie sticks complement the cheesy, savory quesadillas nicely.