 Pin It
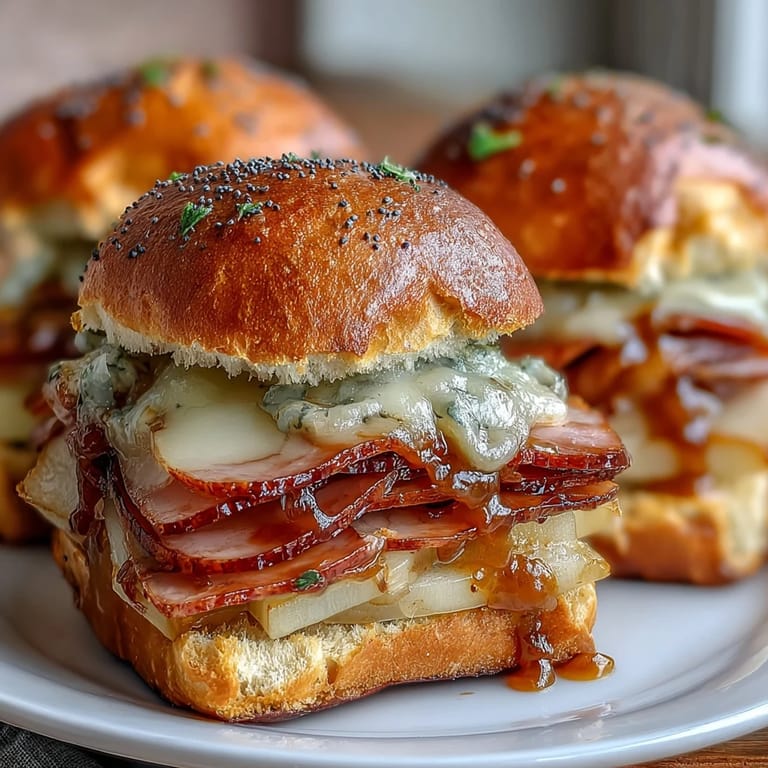
 Sometimes all it takes is the soft squish of slider rolls and the honeyed aroma of ripe pears to get me in the mood for a midday treat. One afternoon, while rummaging through the fridge for something quick yet satisfying to pack in my kid's lunchbox, inspiration hit: what if I paired our leftover ham and cheese with those sweet pears on pillowy soft rolls? To my delight, the kitchen was soon filled with the buttery scent of baking sliders and a chorus of little footsteps hoping for a taste. The contrast of fruit and savory meat always wakes up my senses, making even routine lunches feel special. These sliders came together almost by accident, but they've become a little lunchtime ritual ever since.
I’ll never forget the first time I made these for a picnic in the park—the breeze was cool, but the gooey cheese and warm rolls kept everyone's hands toasty. Watching my youngest grin, pear juice dotting her chin, was all the feedback I needed. These quickly earned a spot in my weekly meal prep, mostly because I enjoyed sneaking bites while assembling them. Laughing at my own messy countertop, I realized these sliders always seem to evoke easy togetherness—the sort of meal that disappears before you even notice.
Ingredients
- Soft slider rolls: The foundation—go for Hawaiian rolls or any fluffy small buns for the best texture.
- Ripe pears: Thinly sliced for gentle sweetness that stands out—look for pears that give slightly to the touch but aren’t mushy.
- Deli ham: Adds salty depth; I’ve found that slightly thicker slices prevent the sliders from getting soggy.
- Swiss or cheddar cheese: For dreamy meltiness—cheddar brings tang, but Swiss keeps things mellow; sometimes I do half and half for variety.
- Dijon mustard: Lifts the flavor with gentle heat—mixing it with mayo smooths the bite and spreads more evenly.
- Mayonnaise: Adds a creamy layer that seals in moisture so your rolls stay soft, not dry.
- Butter (melted): Brushed on top for golden color and bakery-worthy aroma; sometimes I add a pinch of salt to the butter for even more flavor.
- Honey (optional): Stirred into the glaze for a sweet finish and beautiful sticky tops.
- Poppy seeds (optional): For a playful crunch and a bakery look—these are entirely optional but fun.
Tired of Takeout? 🥡
Get 10 meals you can make faster than delivery arrives. Seriously.
One email. No spam. Unsubscribe anytime.
Instructions
- Get the oven ready:
- Set your oven to 180°C (350°F) and line your baking dish with parchment paper—this makes cleanup a breeze later.
- Split and arrange rolls:
- Use a bread knife to gently slice the slider rolls in half horizontally and place the bottoms snugly in the baking dish.
- Mix and spread the sauce:
- In a small bowl, stir together Dijon mustard and mayo; spread it generously over the cut sides of both the top and bottom halves for a boost in every bite.
- Layer up the fillings:
- Line up ham slices neatly on the roll bottoms, follow with the cheese, then fan out the pear slices so each slider gets a little of everything.
- Top and close the sliders:
- Gently set the top halves of the rolls back on, pressing lightly so nothing slips out.
- Brush with glaze:
- Melt the butter and, if you like, whisk in honey and poppy seeds; use a pastry brush to coat the tops for shine and added flavor.
- Bake until golden:
- Slide the dish into the oven and bake for 12-15 minutes, just until the cheese melts and the tops are your favorite shade of golden brown.
- Cool, separate, and serve:
- Let the sliders cool for a minute—they’re hot!—then pull them apart gently and serve warm or pack in lunchboxes.
 Pin It
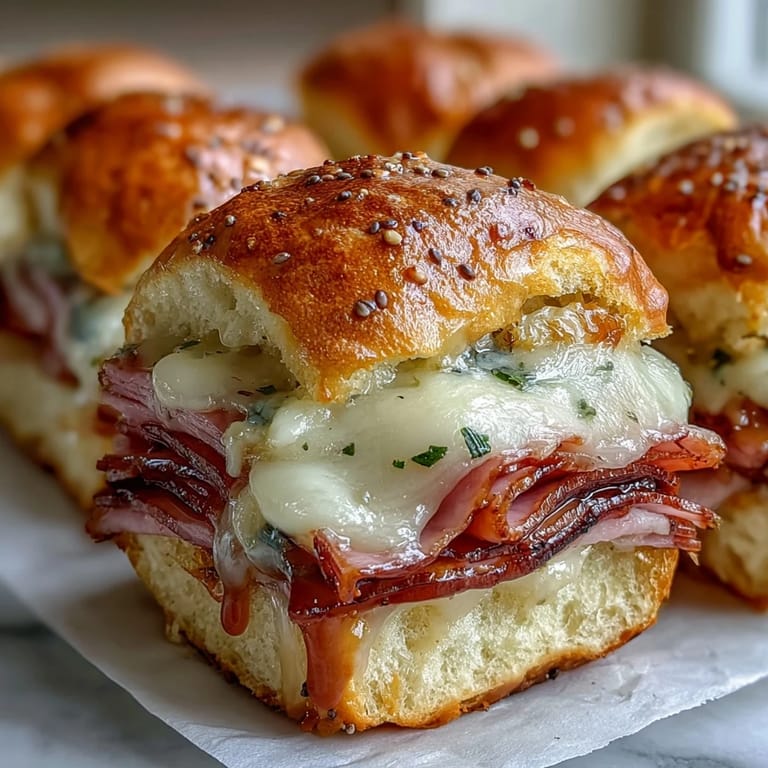
 Last fall, we brought a plate of these sliders to a neighbor’s front porch after she welcomed a new baby. She texted later to say she’d eaten them all in one sitting, barely saving any for her partner. That’s when I realized: this dish doubles as a small gesture of comfort, right from your own oven.
Beyond the Classic: Ingredient Swaps
Once, being out of pears, I tried apple slices and nearly stuck with that version for good. Different cheeses transform the whole mood—Gruyère adds nutty warmth, mozzarella keeps things mellow and gooey. Even turkey instead of ham tastes fresh and balanced, especially with the honey glaze.
Make-Ahead and Storage Insights
I often assemble these at night, wrap the dish, and bake them fresh in the morning—super convenient for hectic weekdays. Sliders also stay surprisingly nice at room temperature, so they're ideal for parties or potlucks. If any leftovers survive (rare in my house), we reheat them gently in foil to keep them from drying out.
Easy Lunchbox Tips
When packing these for lunches, I let them cool just a bit so there’s no condensation and the rolls stay soft. For my extra-hungry crew, a side of crunchy carrot sticks or chips always goes alongside, and a dab more mustard can be tucked in for dipping. If using the honey glaze, give it time to set so nothing sticks in the lunchbox.
- Let sliders cool before packing to avoid soggy rolls.
- Try parchment or waxed paper for easy wrapping.
- Don't forget an ice pack if your lunchbox will be out for long.
 Pin It
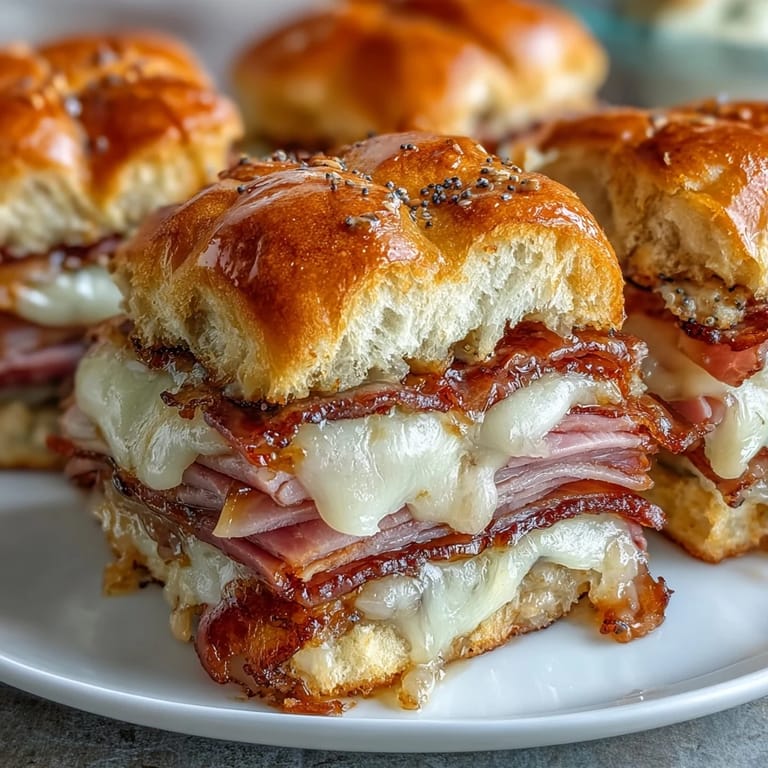
 Warm, melty, and a little bit fancy: these pear ham and cheese sliders make even the simplest lunch feel like something to celebrate. Here’s hoping they spark just as many smiles at your table as they have at mine.
Recipe FAQs
- → What type of rolls work best for these sliders?
Soft slider rolls like Hawaiian rolls work well as they provide a tender, slightly sweet base that complements the savory and sweet fillings.
- → Can I use a different cheese for the sliders?
Yes, Gruyère, provolone, or mozzarella are excellent alternatives that add unique flavors and melt beautifully.
- → Is the honey-poppy seed glaze necessary?
The glaze is optional but adds a delightful sweet crunch and enhances the overall flavor of the sliders.
- → How can I prepare these sliders ahead of time?
Assemble the sliders and store them covered in the fridge. Bake them fresh before serving for best results.
- → Are these sliders suitable for serving warm and at room temperature?
Yes, they are tasty both warm and at room temperature, making them versatile for lunchboxes or snacks.