 Pin It
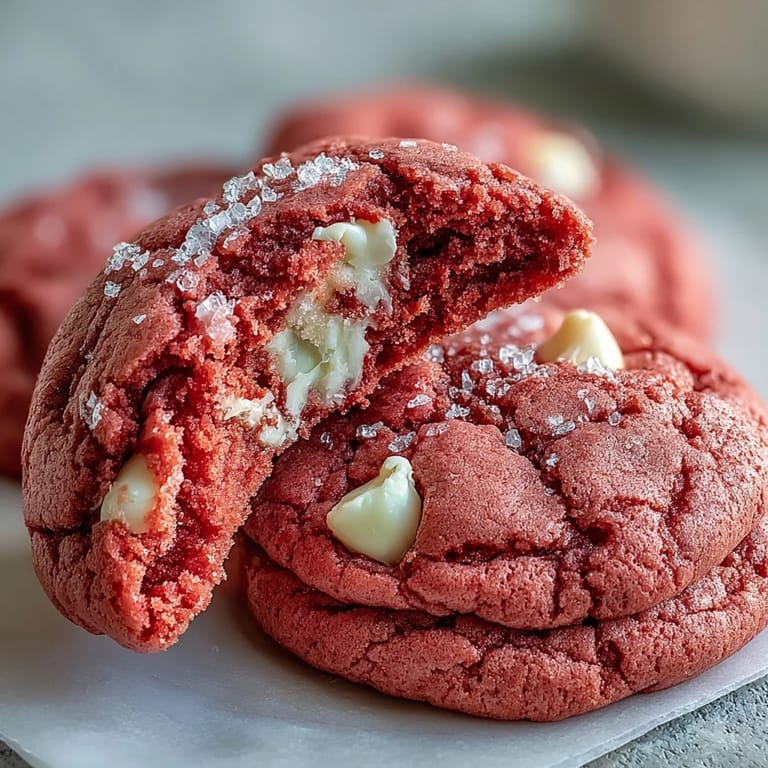
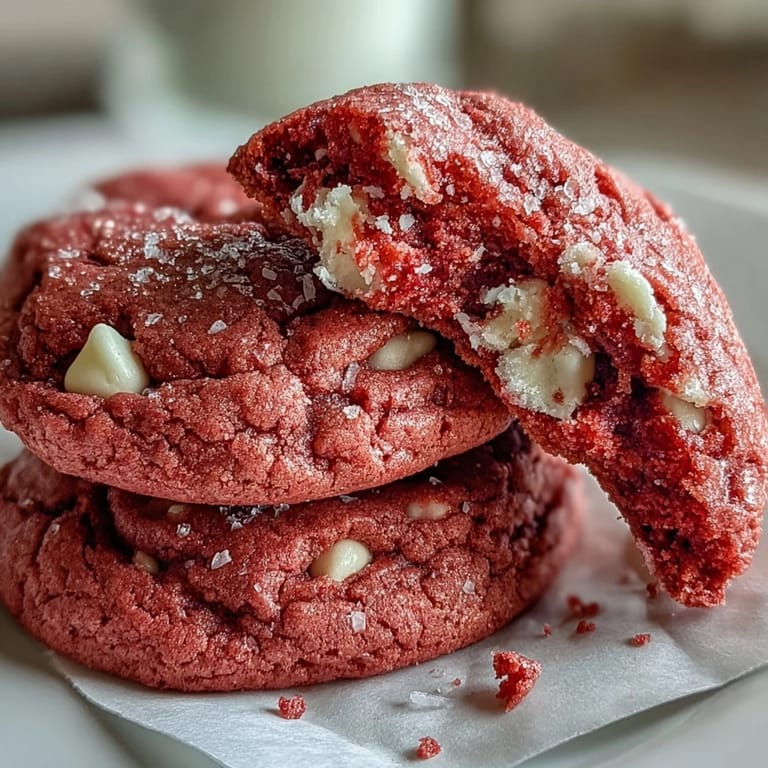
 The smell of butter and vanilla always pulls me back into the kitchen, but it was the sight of these bright pink cookies cooling on the rack that made my daughter stop mid-sentence and gasp. She'd been having a rough week at school, and I wanted to surprise her with something cheerful. I didn't tell her what I was making, just let the color do the talking. When she saw them, her whole face lit up, and suddenly we were both giggling over how wonderfully silly and perfect they looked.
I brought a batch to a potluck once, stacked on a plain white plate, and they were gone before I even set down my coat. People kept asking if they were strawberry or raspberry, and I loved watching their surprise when I told them it was just vanilla with a little food coloring magic. One friend admitted she took three and hid them in her purse for later. That's when I knew this recipe was a keeper.
Ingredients
- All-purpose flour: The backbone of the cookie, providing structure without making them cakey, and I always fluff it with a fork before measuring to avoid dense dough.
- Baking powder and baking soda: This duo gives the cookies their soft, tender crumb and a slight lift without puffing them into little cakes.
- Salt: Just enough to balance the sweetness and make the vanilla and butter flavors sing a little louder.
- Unsalted butter: Softened to room temperature so it creams beautifully with the sugar, creating that melt-in-your-mouth texture.
- Granulated sugar: It sweetens and helps create those lovely crackled edges that I look for in every batch.
- Large egg: Binds everything together and adds richness, and I always crack it into a small bowl first to avoid any surprises.
- Vanilla extract: Pure vanilla makes all the difference here, adding warmth and depth that artificial just can't match.
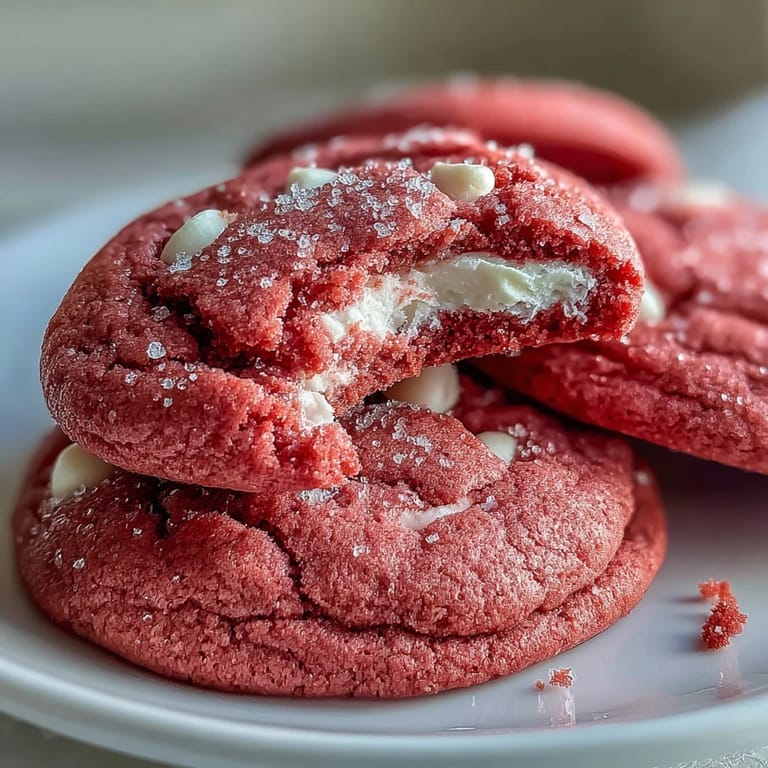
- Pink gel food coloring: A tiny squeeze transforms plain dough into something joyful, and gel won't thin out the batter like liquid coloring does.
- White chocolate chips: They melt slightly in the oven, creating creamy pockets that contrast perfectly with the soft, pink cookie.
Tired of Takeout? 🥡
Get 10 meals you can make faster than delivery arrives. Seriously.
One email. No spam. Unsubscribe anytime.
Instructions
- Mix the dry ingredients:
- Whisk the flour, baking powder, baking soda, and salt together in a medium bowl until evenly combined. Set it aside while you work on the wet ingredients.
- Cream the butter and sugar:
- Beat the softened butter and sugar together with a mixer until the mixture turns pale and fluffy, about 2 to 3 minutes. This step is where the magic starts, so don't rush it.
- Add the egg and flavorings:
- Beat in the egg and vanilla extract until smooth, then add the pink gel food coloring and mix until the dough is evenly tinted. The color should be bright and cheerful, so adjust to your liking.
- Combine wet and dry:
- Gradually add the dry ingredients to the wet mixture on low speed, mixing just until no streaks of flour remain. Overmixing will make the cookies tough, so stop as soon as it comes together.
- Fold in the white chocolate:
- Use a spatula to gently fold in the white chocolate chips, making sure they're evenly distributed throughout the dough. This is also the moment to sneak a taste if you're so inclined.
- Chill the dough:
- Cover the bowl with plastic wrap and refrigerate for 30 minutes to firm up the dough. Chilled dough holds its shape better in the oven and results in thicker, chewier cookies.
- Preheat and prep:
- Preheat your oven to 350°F and line two baking sheets with parchment paper. This prevents sticking and makes cleanup a breeze.
- Scoop and space:
- Scoop tablespoon-sized balls of dough and place them about 2 inches apart on the prepared sheets. They'll spread slightly, so give them room to breathe.
- Bake until set:
- Bake for 10 to 12 minutes, until the edges are set but the centers still look soft. They may seem underbaked, but they'll firm up as they cool and stay wonderfully chewy.
- Cool and enjoy:
- Let the cookies cool on the baking sheets for 5 minutes, then transfer them to a wire rack to cool completely. This step takes patience, but warm cookies are fragile and will break if moved too soon.
 Pin It
 I made these for my niece's birthday once, and she insisted on helping me scoop the dough onto the sheets. Her little hands were covered in pink by the end, and she declared them the prettiest cookies she'd ever seen. We packed them in a tin with a ribbon, and she carried it like treasure all the way to the party. That's the thing about these cookies—they're not just sweet, they're a moment you share.
How to Store and Keep Them Fresh
I've learned the hard way that leaving cookies out on the counter makes them lose their softness by day two. Now I always store them in an airtight container with a piece of bread tucked inside, which keeps them moist and chewy for up to a week. If you want to freeze them, layer them between sheets of parchment and they'll keep for up to three months. Just thaw them at room temperature and they taste like you just baked them.
Creative Variations to Try
Once you've made the classic version, it's fun to experiment a little. I've swapped the white chocolate for dark chocolate chunks when I wanted something less sweet, and I've added a half teaspoon of almond extract for a subtle floral note that pairs beautifully with the pink color. A friend of mine even turned them into cookie sandwiches with cream cheese frosting in the middle, and they were a hit at her baby shower. The dough is forgiving and loves a little creativity.
What to Serve Alongside
These cookies are sweet enough to stand on their own, but I love serving them with a glass of cold milk or a cup of hot tea in the afternoon. They're also wonderful packed into lunch boxes or arranged on a dessert table next to fresh berries and whipped cream. If you're feeling fancy, a scoop of vanilla ice cream turns them into an instant sundae.
- Pair with a vanilla latte or strawberry milk for a pink-on-pink treat.
- Stack them in a clear jar with a ribbon for an easy homemade gift.
- Serve warm with a drizzle of melted white chocolate for extra indulgence.
 Pin It
 There's something about pulling a tray of pink cookies out of the oven that makes the whole kitchen feel lighter. I hope these bring you as much joy as they've brought me, whether you're baking them for someone special or just treating yourself to a little color on an ordinary day.
Recipe FAQs
- → What makes these cookies pink?
Pink gel food coloring creates the vibrant hue. Gel coloring provides more intense color than liquid versions without adding extra moisture to the dough.
- → Can I use liquid food coloring instead?
Liquid food coloring works but may require more drops to achieve the same intensity. Be careful not to add too much liquid, which could affect the dough consistency.
- → Why is chilling the dough necessary?
Chilling for 30 minutes firms the butter, preventing cookies from spreading too much during baking. This helps maintain thickness and ensures soft, chewy centers.
- → How do I know when the cookies are done?
Bake for 10–12 minutes until edges are set but centers still appear slightly soft. They'll firm up as they cool on the baking sheet for 5 minutes.
- → Can I freeze the dough?
Yes, scoop dough balls and freeze on a tray before transferring to a freezer bag. Bake from frozen, adding 1–2 minutes to the baking time.
- → What creates the velvet texture?
The combination of creamed butter and sugar, plus proper baking time, yields a soft, tender crumb. Avoiding overmixing preserves the delicate texture.